10 Creative DIY Floam Variations That Will Transform Your Sensory Play
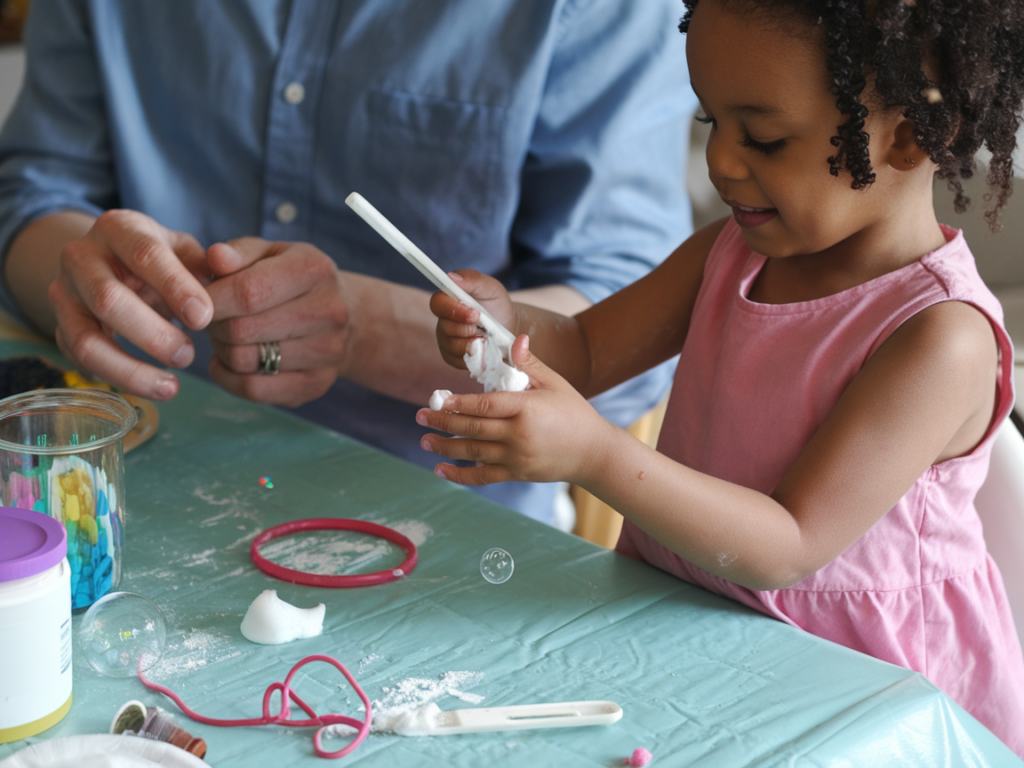
The first time I made floam with my kids, I thought I was just mixing some basic ingredients together for a quick afternoon activity. What I didn’t expect was to fall down a rabbit hole of texture experimentation that would keep us busy for months. That simple batch of fluffy, stretchy goodness opened up a whole world of sensory possibilities I never knew existed.
Now, two years later, we’ve created floam in every color imaginable, mixed in everything from glitter to dried lavender, and discovered combinations that work like magic for both playtime and stress relief. My pantry has become a treasure trove of add-ins, and my kids have become little scientists, constantly asking “What happens if we put this in floam?”
If you’ve only ever made basic floam, you’re missing out on so much creative potential. These variations have transformed our craft time from a simple activity into an exciting adventure in texture, scent, and sensory exploration. Each one offers something different, whether you’re looking for calming aromatherapy benefits, educational opportunities, or just pure tactile joy.
The Magic of Texture Experimentation
What makes floam so special isn’t just its unique stretchy-yet-crunchy texture – it’s how adaptable it is. Unlike regular slime or play dough, floam holds its shape while still being endlessly moldable. This makes it the perfect base for experimentation because you can add almost anything without ruining its basic properties.
The key to successful DIY floam variations lies in understanding the balance between your base ingredients and your add-ins. Too much of anything will throw off the texture, but the right amount creates something magical. I’ve learned this through plenty of trial and error, including a few batches that went straight into the trash.
Each variation I’m sharing has been tested multiple times in our kitchen laboratory (also known as my dining room table). These aren’t just random ideas – they’re combinations that actually work and create something kids want to play with again and again.
1. Glittery Galaxy Floam
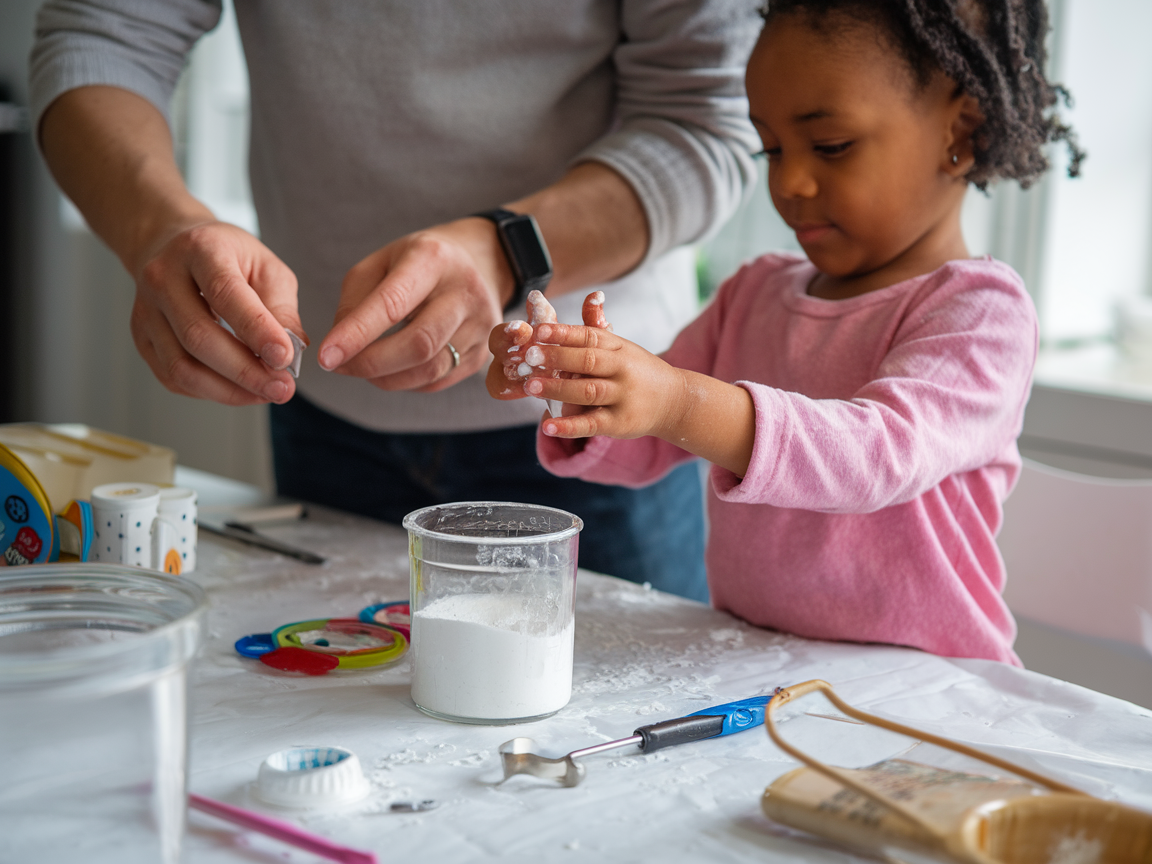
This might be our most popular variation ever. Start with your basic floam recipe, but add fine glitter during the mixing process. I use about one tablespoon of glitter per batch – enough to create serious sparkle without making it too messy.
The trick is using fine craft glitter rather than chunky pieces. Chunky glitter can be scratchy and uncomfortable, while fine glitter creates this amazing shimmery effect that looks like stardust. We make different “planets” by using different color combinations – deep purple with silver glitter for Neptune, red with gold for Mars.
Pro tip: Add a tiny bit of glycerin to make it extra stretchy. The combination of sparkle and stretch is absolutely mesmerizing.
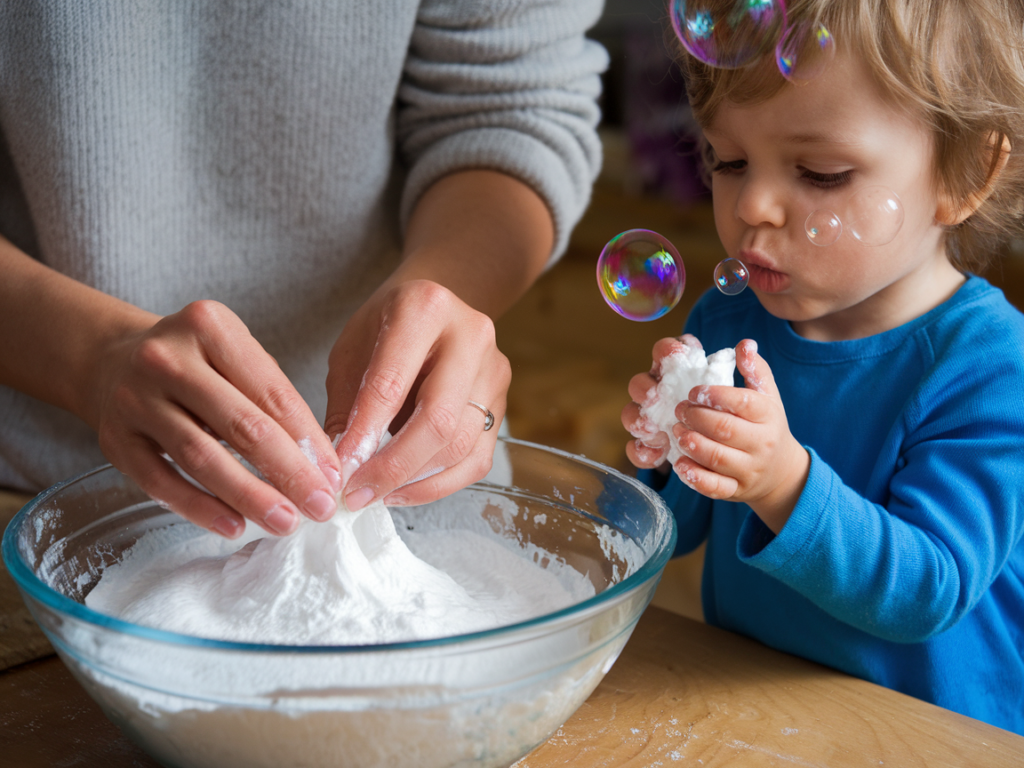
2. Butter Floam for Ultimate Softness
If you want the softest, most cloud-like texture imaginable, this is your variation. Add two tablespoons of cornstarch and one tablespoon of baby lotion to your basic floam recipe. The result is something that feels like touching a cloud made of butter.
This version is perfect for kids who are sensitive to textures or for adults who want something genuinely therapeutic. I keep a container of butter floam on my desk for stressful workdays – there’s something incredibly calming about squishing it between your fingers.
The baby lotion adds a subtle, pleasant scent that isn’t overwhelming. Choose unscented if you plan to add essential oils later, or pick a light fragrance like lavender or vanilla.
3. Essential Oil Aromatherapy Floam
Speaking of essential oils, these DIY floam variations can become powerful aromatherapy tools with just a few drops of the right oils. Add 3-4 drops of lavender for calming evening play, peppermint for energizing morning activities, or lemon for an uplifting mood boost.
I make different scented batches for different times of day and different moods. Our “bedtime floam” has chamomile and vanilla, while our “homework floam” has rosemary and orange to help with focus. The kids have learned to associate certain scents with certain activities, which has been surprisingly helpful for transitions.
Always use pure essential oils, not fragrance oils, and remember that a little goes a long way. Too much can irritate sensitive skin or become overwhelming.
4. Color-Changing Thermochromic Wonder
This variation blew my kids’ minds the first time we made it. Add thermochromic pigment powder (you can buy it online) to create floam that changes color with temperature. When you squeeze it, the warmth from your hands transforms the color completely.
We’ve made purple floam that turns pink, blue that becomes white, and green that shifts to yellow. The effect is subtle but absolutely magical. Kids love watching their handprints appear and disappear as the floam cools back down.
This variation works best with lighter base colors, as dark colors can mask the color-changing effect. Start with white or very pale tinted floam for the most dramatic results.
5. Seasonal Holiday Themes
Creating seasonal DIY floam variations has become one of our favorite traditions. For Halloween, we make orange floam with black foam beads and add tiny plastic spiders. Christmas gets red and green swirled floam with silver glitter and cinnamon essential oil.
Spring floam includes pastel colors with dried flower petals mixed in. Summer versions get bright neon colors and coconut scent. Each season brings new possibilities for colors, scents, and small decorative add-ins.
The kids look forward to making “holiday floam” almost as much as they look forward to the holidays themselves. It’s become part of how we mark the changing seasons.
6. Educational Letter and Number Learning
Transform floam into a learning tool by adding foam letters, numbers, or small educational toys. We hide magnetic letters in containers of floam and challenge the kids to find them and spell words. Math manipulatives like tiny counting bears work great too.
This variation combines sensory play with academic learning in a way that doesn’t feel like “school work.” Kids are so focused on the fun texture that they barely notice they’re practicing letter recognition or basic math concepts.
Choose add-ins that are large enough to be safe but small enough to hide completely in the floam. Foam letters from the dollar store are perfect – they’re soft, colorful, and exactly the right size.
7. Rainbow Layer Technique
Creating layered rainbow floam requires a bit more patience, but the results are stunning. Make separate batches in different colors, then carefully layer them in a clear container. When you pull it out, you get these amazing rainbow streaks that swirl and blend as you play.
The key is making each layer slightly different in consistency. Add a tiny bit more activator to some layers and less to others. This prevents them from completely blending together while still allowing for beautiful marbling effects.
We like to make “sunset floam” with pink, orange, and purple layers, or “ocean floam” with different shades of blue and green. Each combination creates its own unique visual effect.
8. Textured Mix-In Adventures
Some of our most interesting DIY floam variations come from unexpected mix-ins that add texture without affecting the basic properties. Dried rice creates a subtle crunch, while foam beads add satisfying pops. Kinetic sand mixed in small amounts creates fascinating grainy streaks.
I’ve experimented with everything from crushed eggshells (surprisingly pleasant) to coffee grounds (great for brown “dirt” floam). The rule is to add textural elements gradually – you can always add more, but you can’t take them out.
My kids love the unpredictability of textured floam. They never know exactly what it’s going to feel like until they start playing with it.
9. Glow-in-the-Dark Magic
Adding glow-in-the-dark powder creates floam that’s entertaining both day and night. During the day, it looks like regular floam with a slight greenish tint. But turn off the lights after exposing it to bright light, and it glows with an otherworldly effect.
We make glow floam for sleepovers, camping trips, and any time we want to add a little magic to playtime. The kids love making shapes with it and then turning off the lights to see their creations glow.
The glow effect works best when you “charge” the floam under a bright light for several minutes before taking it into darkness. LED lights work better than regular bulbs for charging.
10. Stress-Relief Therapy Blends
My final variation is specifically designed for therapeutic use. This floam combines the softest possible texture with calming scents and colors. I use extra cornstarch for silkiness, lavender essential oil for relaxation, and soft purple or blue coloring.
This version has become invaluable for helping kids (and adults) deal with overwhelming emotions. There’s something about the combination of the soft texture, calming scent, and repetitive squishing motion that works better than any other sensory tool I’ve tried.
I keep containers of therapy floam in our calm-down corner, and it’s become the go-to tool for managing big feelings. Even my teenager uses it when studying for stressful exams.
The Science Behind the Magic
What makes these DIY floam variations so effective for sensory play goes beyond just fun. The act of manipulating different textures engages multiple parts of the brain simultaneously. The unpredictable nature of floam – you never know exactly how it’s going to stretch or bounce – keeps the mind engaged and present.
For children with sensory processing differences, these variations provide controlled sensory input that can be calming or alerting, depending on what they need. The ability to customize the texture, scent, and visual elements means you can create exactly the right sensory experience for each child.
Adults benefit too. The repetitive motions and focus required for floam play can be meditative, helping to reduce stress and anxiety. It’s like a fidget toy and art therapy session rolled into one.
Tips for Perfect Results Every Time
After making hundreds of batches of floam, I’ve learned a few secrets that make the difference between good floam and great floam. First, always add your variations gradually. It’s tempting to dump everything in at once, but slow incorporation gives you better control over the final texture.
Temperature matters more than you might think. Cold ingredients create stiffer floam, while room temperature ingredients blend more easily. I always let everything come to room temperature before mixing.
Storage is crucial for maintaining your creations. Each variation needs slightly different storage conditions. Scented floams should be stored in airtight containers to preserve their aromatherapy benefits. Glittery versions need containers that won’t let the glitter settle out.
Most importantly, don’t be afraid to experiment. Some of my best floam discoveries have come from happy accidents or random “what if” moments. The beauty of making your own sensory materials is that you can customize them perfectly for your family’s needs and preferences.Creating these variations has taught me that the simplest activities often have the most potential for creativity and learning. Each new batch is an opportunity to explore, discover, and connect with the people we’re sharing the experience with.

Ms. Kerri’s Corner provides a exciting virtual space for preschool learning. Through a variety of engaging activities, she exposes young minds to early math, literacy, science and social-emotional skills in a developmentally appropriate way. Centers for blocks, art, books and music allow children to explore hands-on learning at their own pace. Guided lessons subtly introduce number sense, letter sounds and narrative thinking. Careful observation gives insight into each child’s progress across domains. Viewers are also invited to participate, reinforcing that their ideas are valued. By making learning fun yet purposeful, Ms. Kerri lays the groundwork for future academic success while fostering creativity and imagination. Her program offers preschoolers valuable screen-based learning experiences.