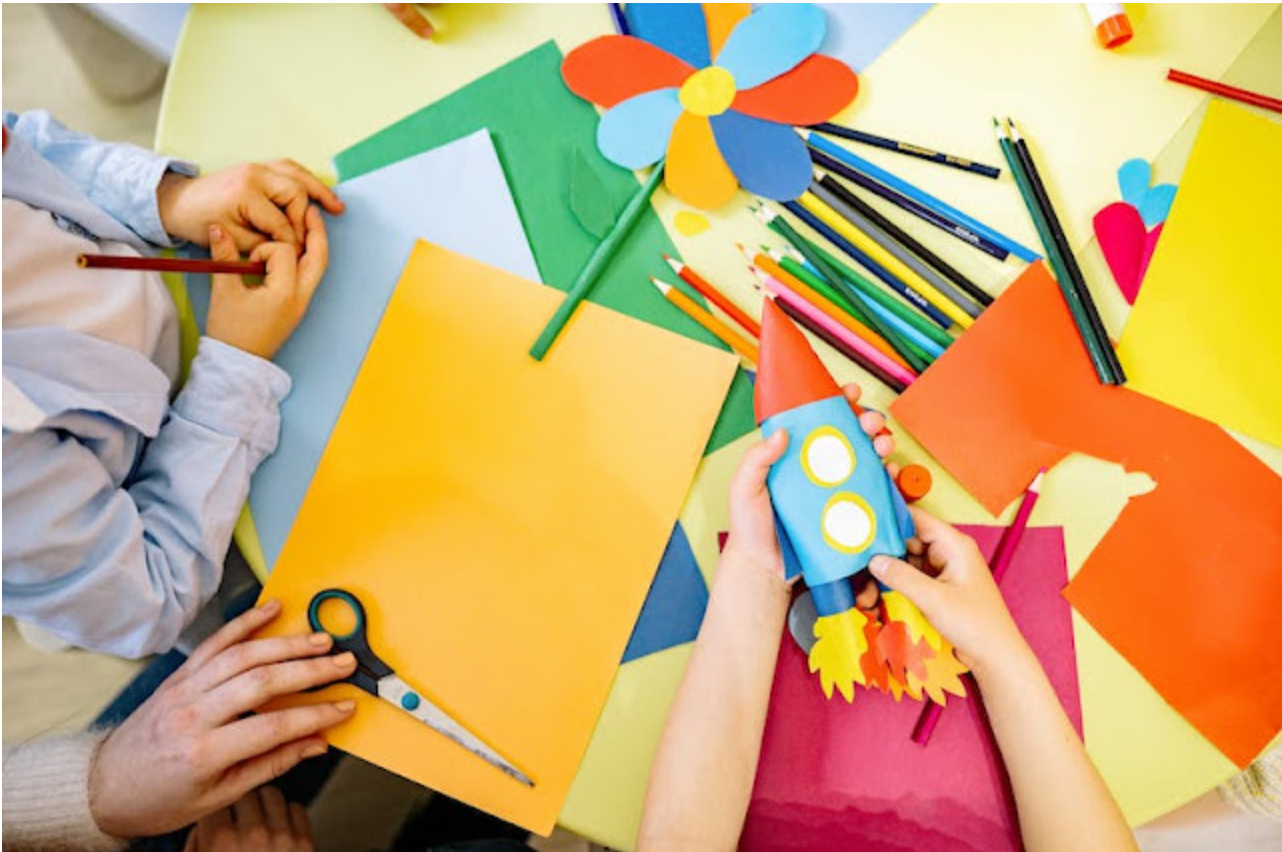
Crafting Brilliance: Unleashing the Imagination – 5 Easy and Enchanting DIY Crafts for Children at Home
Introduction to DIY Crafts for Kids
The Gateway to Imagination and Expression
Crafting, ah, what a marvelous way for children to unleash their boundless imagination and express their creativity! DIY crafts offer an abundance of opportunities for kids to embark on exciting ventures right in the comfort of their own homes. Engaging in hands-on activities not only keeps them entertained but also serves as a gateway to a world where anything is possible.
From transforming simple materials into magnificent creations to exploring new skills and techniques, the realm of DIY crafts knows no bounds. So, let’s dive into this enchanting world and discover five easy and fun crafts that will undoubtedly spark joy in your little ones’ hearts!
Importance of Engaging Children in Creative Activities
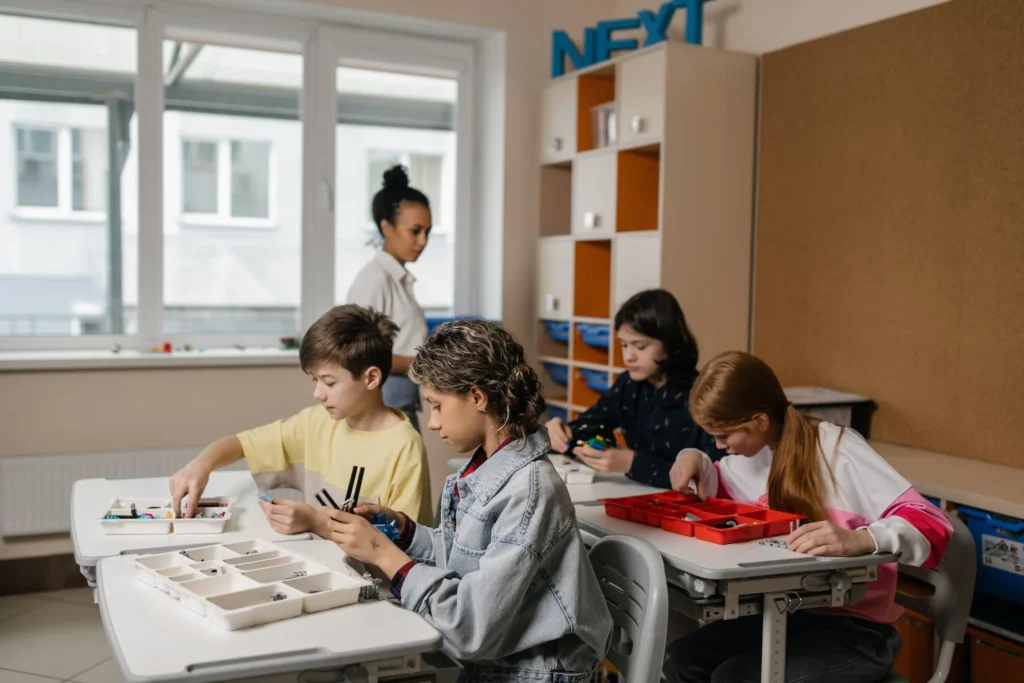
Children are like sponges, eagerly absorbing knowledge from their surroundings. It is essential to provide them with creative outlets that foster self-expression and critical thinking. Engaging children in DIY crafts helps stimulate their imagination, allowing them to think outside the box and explore innovative solutions.
By embracing these activities, kids develop problem-solving skills as they encounter challenges throughout the crafting process. Furthermore, crafting promotes fine motor skills by engaging children in tasks that require precision and dexterity—whether it’s cutting paper or tying knots—thus enhancing their hand-eye coordination.
Looking for more children’s free activities and crafts? Look here.
The Multifaceted Benefits of DIY Crafts for Kids’ Development
Crafting with children goes beyond mere entertainment; it plays a pivotal role in their holistic development. Not only does it ignite their creative spark, but it also fosters cognitive growth by encouraging critical thinking and decision-making skills. As they plan and execute craft projects, kids learn how to visualize ideas, break down complex tasks into manageable steps, and make choices based on personal preferences.
Additionally, engaging with different materials enhances sensory perception as they feel textures, observe colors blending together, and explore the possibilities of different shapes and forms. DIY crafts also serve as an avenue for emotional expression, allowing children to share their feelings through artwork and find solace in the process itself.
In a world where screen time seems pervasive, dedicating time to hands-on crafting provides a much-needed break and nurtures children’s ability to concentrate and focus on tasks for extended periods. By fostering creativity, critical thinking, and personal growth, DIY crafts empower children to become confident individuals capable of turning their imagination into tangible creations.
Ready for some crafty adventures? Let’s delve into five delightful projects that will keep your little ones engaged while cultivating their skills!
Craft #1: Paper Plate Animals

Materials needed: paper plates, markers, scissors, glue
Let’s dive into the world of creativity with our first craft: paper plate animals! To embark on this exciting adventure, gather some basic supplies – trusty old paper plates, vibrant markers in a rainbow of colors, a pair of handy scissors (with adult supervision if needed), and some trusty glue. Once you have these materials at hand, you’re ready to unleash your imagination and bring these adorable creatures to life!
Step-by-step instructions to create various animals (lion, frog, butterfly)
Now that we have everything we need let’s get started on our journey of crafting marvelous paper plate animals. We’ll begin by selecting the animal we want to create – perhaps a fierce lion with its majestic mane or a cheery frog hopping around with joy.
How about a beautiful butterfly fluttering its delicate wings? The choice is yours!
Drawing and coloring animal features on the paper plate
Hold your chosen animal close to your heart as you draw its key features onto the sturdy canvas of the paper plate. Use those colorful markers to bring out the character and unique traits of your creature.
For instance, when creating a lion’s face, don’t forget that impressive mane or those confident eyes. Let your imagination run wild as you color in each intricate detail!
Cutting out specific shapes and attaching them to create the animal
Once you’ve breathed life into your design with vibrant hues and crucial characteristics, it’s time for the next step: cutting out specific shapes from other plates or colored construction paper that will serve as body parts for your animal creation. Attach these cut-out pieces using glue in their respective spots on the main plate canvas – perhaps adding paws for our lion or legs for our hopping frog.
Adding details with markers
Now that the basic structure is in place, it’s time to give your animal masterpiece the finishing touches. Take your markers once more and add those final details that will truly make your creation stand out.
Consider adding stripes or spots, expressive facial expressions, or any other unique features that will transform your paper plate animal into a work of art! Get ready to showcase your artistic prowess as we move on to our next craft: homemade playdough!
Craft #2: Homemade Playdough
The Magic of Play and Creativity
Ah, the wonders of playdough! It has been a staple in children’s craft activities for generations. The squishy texture, vibrant colors, and endless possibilities it offers make it a perfect companion for young minds bursting with creativity.
Making playdough from scratch can be a delightful and rewarding experience for both children and adults alike. So, gather your little ones around the kitchen table and let’s embark on an exciting journey of homemade playdough!
The Ingredients for Homemade Fun
Before we dive into the incredible world of playdough creations, let’s gather our ingredients. You’ll need flour, salt, water, oil (vegetable or baby oil works well), and food coloring if you want to add a dash of pizzazz to your dough. These everyday pantry staples are readily available in most households, making this DIY craft even more convenient.
A Simple Recipe to Create Playful Bliss
First things first – grab a large mixing bowl to bring our ingredients together harmoniously. In your bowl, combine two cups of flour with half a cup of salt. Mix them well until they form a uniform dry mixture.
Adding Life to the Mix
Now comes the fun part! Gradually pour one cup of water into the mixture while stirring continuously. This step requires some patience because you want to ensure that all the dry ingredients are thoroughly moistened by the water.
Bringing It All Together
Once you’ve added all the water, drizzle in two tablespoons of oil into the bowl. The oil will make our playdough wonderfully soft and pliable. Give everything one final stir before rolling up your sleeves for some hands-on action!
Kneading the Magic
Transfer the sticky mixture onto a clean surface. Dust it with a little flour to prevent sticking.
Begin kneading the dough, folding and pressing it over itself repeatedly. Feel the dough transform under your hands, becoming smoother and more elastic with every movement.
A World of Endless Imagination
Now that you have your homemade playdough ready, let your imagination run wild! Mold it into animals, create miniature landscapes, or shape it into letters and numbers for a playful learning experience. Oh, and don’t forget to experiment with different colors by adding a few drops of food coloring – this will make your creations truly captivating!
Playdough is not only a sensory delight but also an excellent tool for developing fine motor skills, hand-eye coordination, and imaginative thinking in children. So gather your little ones and indulge in this homemade playdough adventure that promises hours of joyous playtime!
Craft #3: Nature Collage

Collecting natural materials like leaves, flowers, sticks, and pebbles
Nature has a way of providing us with an abundance of beautiful materials that are perfect for creating stunning collages. Take your little ones on an exciting expedition outdoors to collect various natural treasures.
Encourage them to explore the surroundings, picking up colorful leaves, delicate flowers, interestingly shaped sticks, and smooth pebbles. Engage their senses by appreciating the different textures, scents, and colors they encounter.
You can make it even more enjoyable by turning it into a scavenger hunt game – who can find the biggest leaf or the most uniquely shaped stick? Let their imaginations run wild as they discover nature’s hidden gems.
Preparing a sturdy base (cardboard or poster board)
Once you’ve collected your precious nature finds, it’s time to prepare a solid foundation for your masterpiece. Grab a piece of sturdy cardboard or poster board that will serve as the base for your collage.
Ensure that it’s large enough to accommodate all the natural materials you’ve gathered and provide enough space for creativity to flourish. This step is crucial as it provides stability to your collage and allows you to showcase your artwork with pride once it’s completed.
Arranging and gluing the collected items onto the base to create a collage
Now comes the fun part – arranging and gluing all those wonderful natural elements onto your chosen base! Lay out all your collected materials in front of you and let your creativity guide you in deciding how they should come together in harmony. Play around with different layouts – overlapping leaves or creating patterns with sticks can add depth and visual interest to your composition.
Experimentation is key here; there are no right or wrong choices when it comes to art! Once you’re satisfied with your arrangement, secure each piece in place with non-toxic glue or adhesive to ensure they stay put.
Creating different themes or patterns with the natural materials
If you want to take your nature collage to the next level, consider exploring different themes or patterns. For instance, you can create a vibrant floral collage by focusing on flowers of various colors and shapes.
Alternatively, try making a woodland-themed collage using leaves, twigs, and pebbles to recreate a mini forest scene. Let your child’s interests and imagination drive the theme of their collage – do they love ocean creatures?
Collect seashells, seaweed, and small rocks to build an underwater wonderland. Encourage them to think outside the box and express themselves through their chosen theme or pattern.
Remember, crafting is not just about the end result but also about embracing the journey and enjoying every moment spent creating together. So let your children’s creativity run wild as they dive into this nature-inspired world of collages!
Craft #4: Friendship Bracelets

Materials needed: colored embroidery floss or yarn
Friendship bracelets are a classic craft that never goes out of style. To get started, gather your supplies. You’ll need some vibrant and colorful embroidery floss or yarn.
Choose a variety of shades to make your bracelets truly eye-catching and personalized. The great thing about this craft is that it doesn’t require many materials, so you can easily find everything you need around the house or at a local crafts store.
Basic knotting techniques for making friendship bracelets
Now that you have your materials ready, let’s dive into the knotting techniques used in making friendship bracelets. The most commonly used knots are the forward knot and the backward knot. Mastering these two basic knots will allow you to create an array of intricate patterns and designs.
The forward knot is created by crossing one strand over another and pulling it through the loop formed by the other strand. On the other hand, the backward knot involves crossing one strand under another and pulling it through the loop formed by the other strand.
Explaining different types of knots (e.g., forward knot or backward knot)
In addition to the essential forward and backward knots, there are various other knots you can experiment with to add more flair to your friendship bracelets. Some popular options include the chevron, diagonal stripe, or zig-zag patterns achieved by combining different combinations of these basic knots in a specific order. These variations allow you to create unique designs that showcase your creativity.
Providing step-by-step instructions with detailed visuals
To help you get started on your friendship bracelet journey, here are some step-by-step instructions:
1. Cut several strands of embroidery floss or yarn, each measuring about 24 inches.
2. Tie a knot at one end, leaving a small loop for securing the bracelet later.
3. Arrange the strands so that they are in the desired color order.
4. Separate the strands into two groups, with three strands in each group.
5. Begin by knotting one group of threads around the other, alternating between forward and backward knots.
6. Continue knotting until you reach the desired bracelet length.
7. Tie another knot at the end to secure the bracelet.
8. Trim any excess floss or yarn. So grab your favorite colors and start creating beautiful friendship bracelets that you can share with your loved ones.
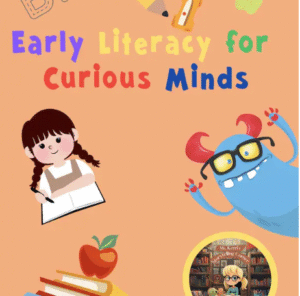
Click HERE to learn how Ms. Kerri’s Storytelling Corner brings reading adventures to life!
Conclusion
Crafting friendship bracelets is not only a fantastic way to spend your time but also allows you to express your creativity and show appreciation for your friends or family members. The process of making these bracelets fosters patience, concentration, and fine motor skills in children while providing an opportunity for them to create something meaningful for someone special in their life. So gather your materials, explore different patterns and knots, and enjoy this delightful DIY craft that will surely bring joy and connection to those who receive these handmade treasures!


Ms. Kerri’s Corner provides a exciting virtual space for preschool learning. Through a variety of engaging activities, she exposes young minds to early math, literacy, science and social-emotional skills in a developmentally appropriate way. Centers for blocks, art, books and music allow children to explore hands-on learning at their own pace. Guided lessons subtly introduce number sense, letter sounds and narrative thinking. Careful observation gives insight into each child’s progress across domains. Viewers are also invited to participate, reinforcing that their ideas are valued. By making learning fun yet purposeful, Ms. Kerri lays the groundwork for future academic success while fostering creativity and imagination. Her program offers preschoolers valuable screen-based learning experiences.